Tuesday 15 July 2014

DIY / How to make a Necklace, Bracelet and Earrings set

Hey!! Hope you had an excellent weekend! Mine was quite boring, to be honest. Today I made three necklaces and one of them includes a set with earrings and bracelet which is the one that I am publishing today. In the next days I will be publishing the other two. All of them are really simple and really easy of everyone to make at home with basic tools except the hot glue gun.

My hot glue gun is a little one, really simple and cute. It was 6 € so it is something you can invest because you can use it for all your hand works and also it helps you repairing things. Trust me, I have done it!

Today's necklace, bracelet and earrings set is really simple, fast to make and cute. The news is that I am working with a material that I never worked before : cork.

This was the result:


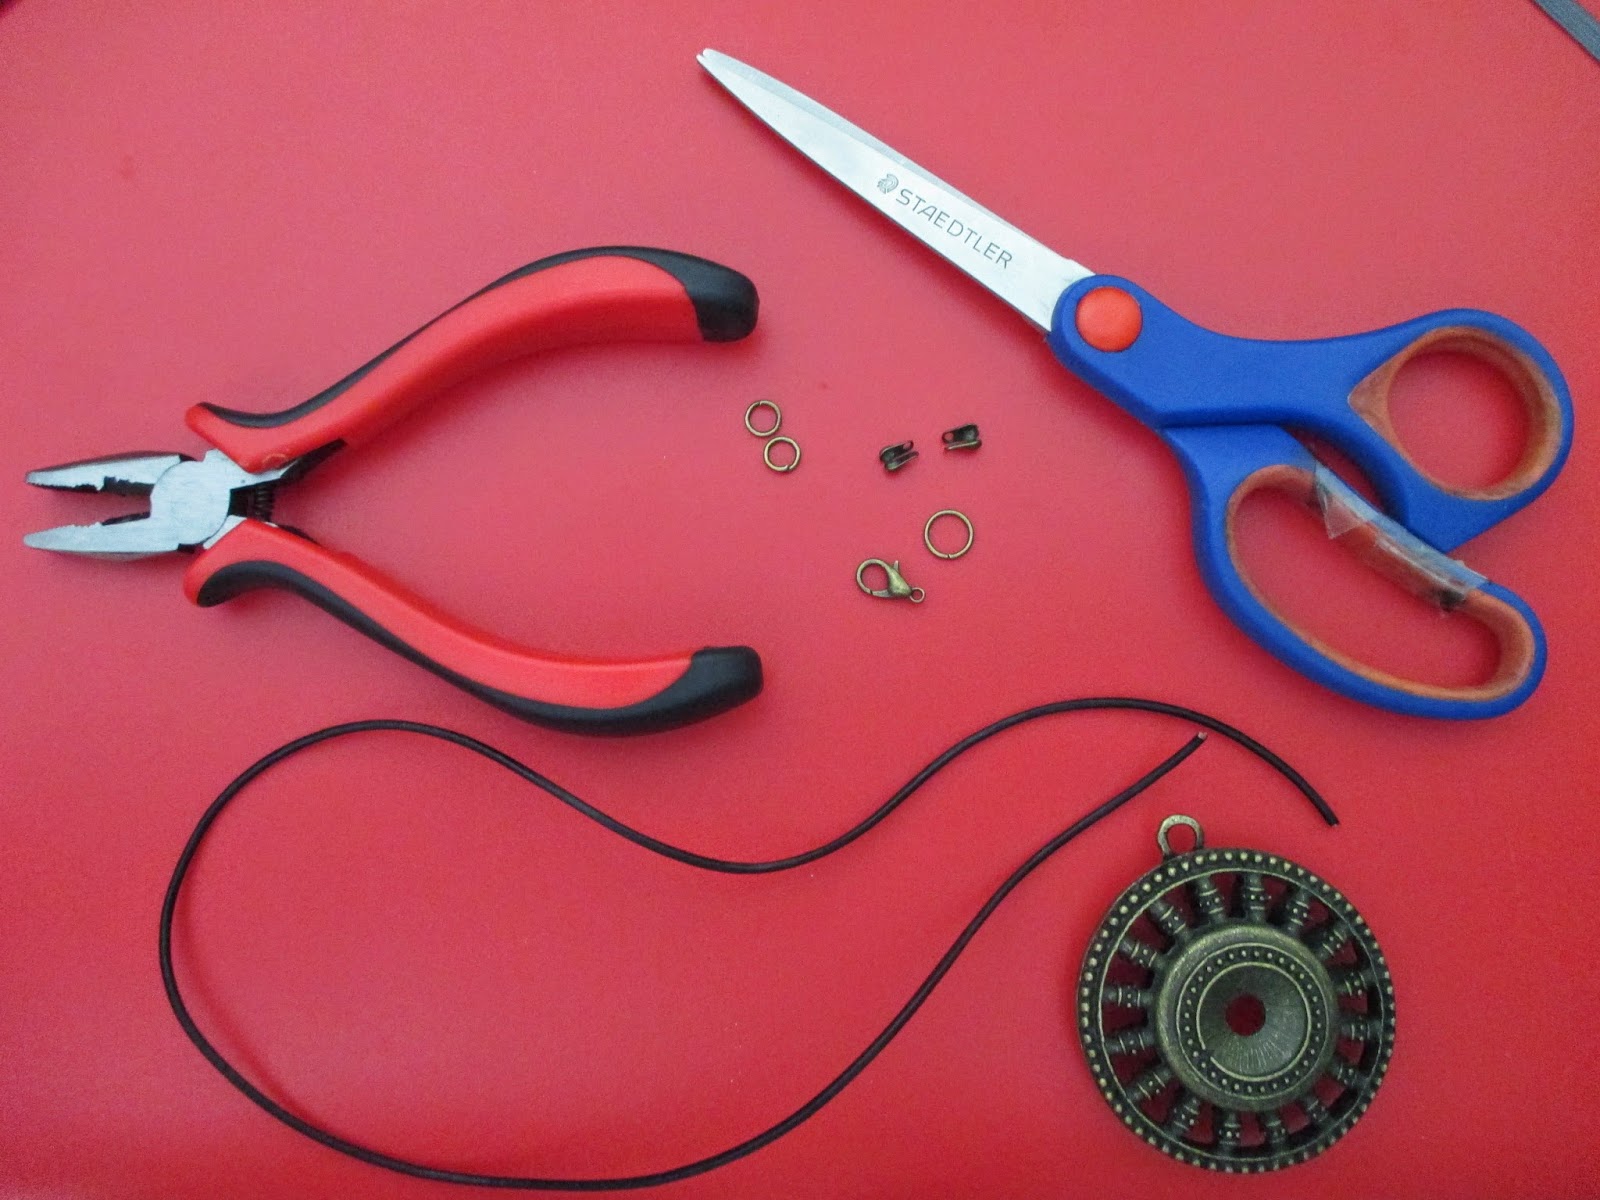
So, what do you need?

I forgot to add the hot glue gun. And there is in the photograph two hoops which I decided not to use.


So, in the first place you have to cut the cork wire in four pieces, two to the earrings, one to the bracelet and another one to the necklace.


As you can see, the earring were different, the pins were in different positions, so I had to do it again. Be careful with that. This is really easy to make, you just need to put a little bit of hot glue inside the pin and then put the cork wire inside. Takes 15 seconds to dry.

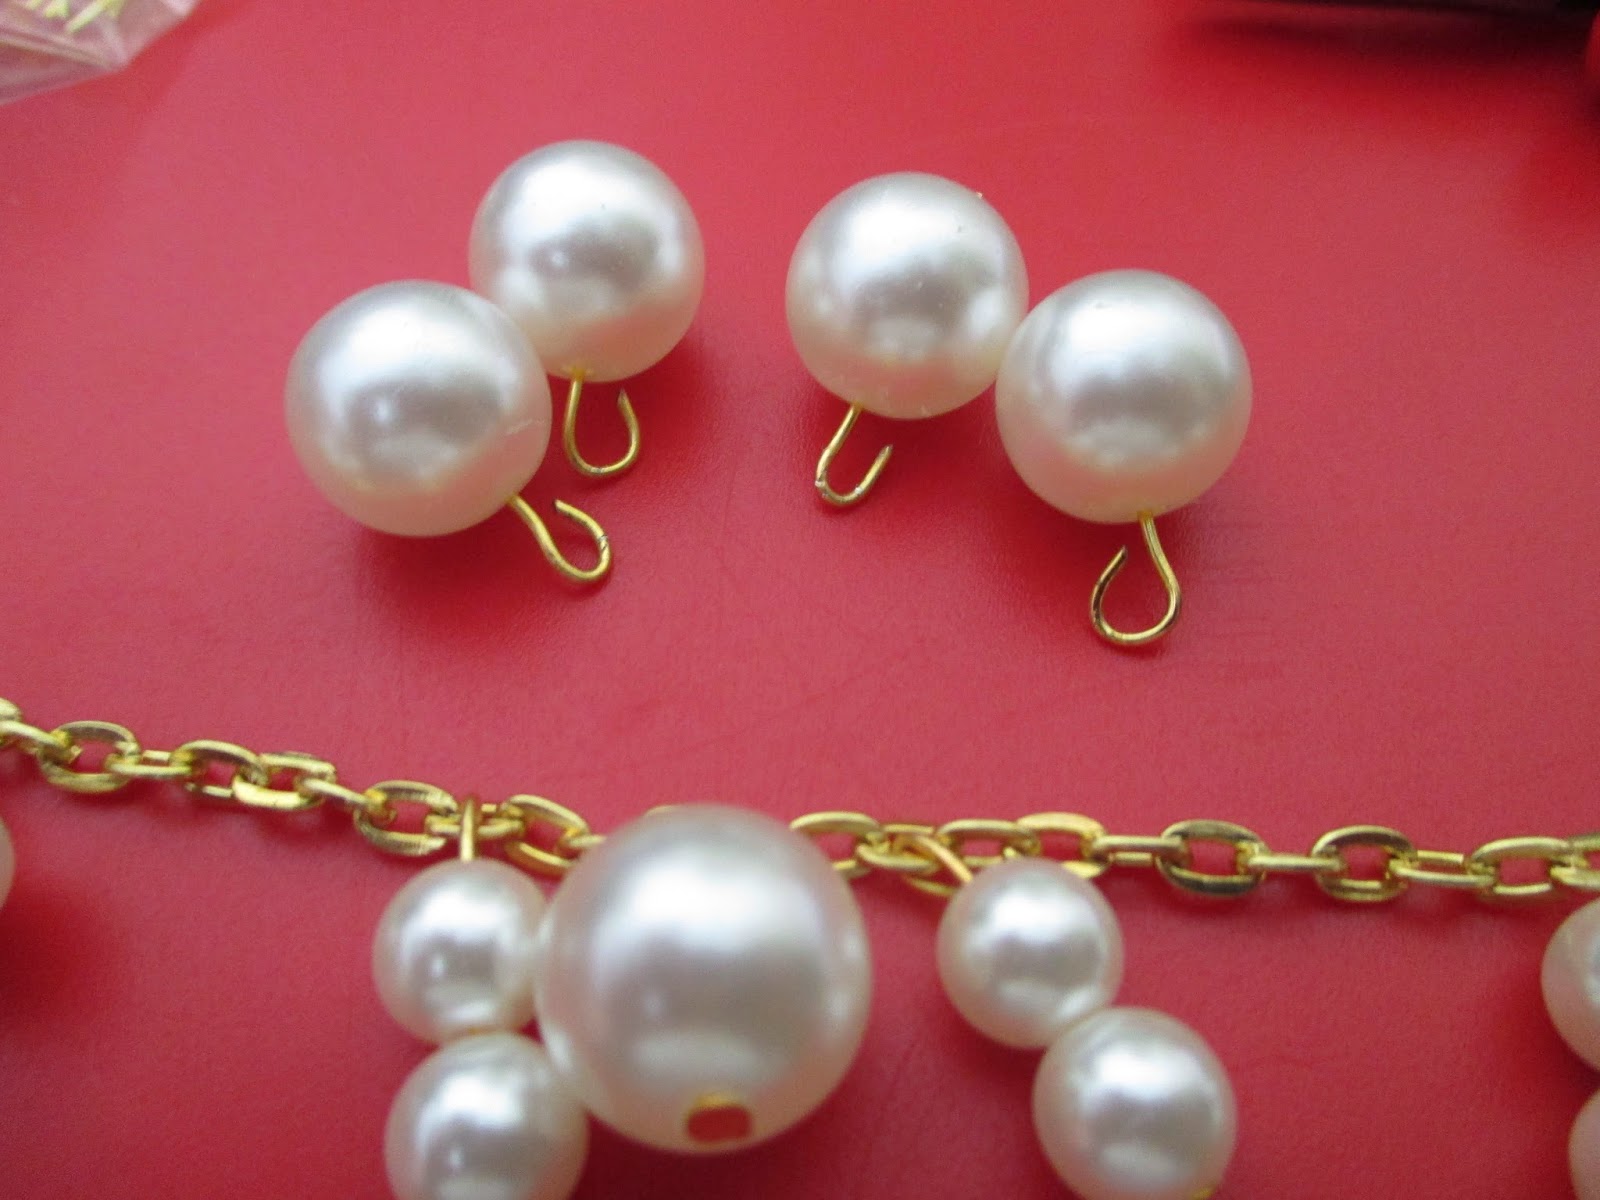
Add the pins to both tips of the bracelet and the necklace. As you can see you can buy the tip pins with already two hoops and a hook together.

As you can see, the hot glue gun was needed. I show it in this picture on purpose because of that. And you can also see my bracelet.

The necklace and bracelet already done. As you can see there were two hoops in the photograph that I was going to use to the earrings but I decided that the earrings would be too long, so I didn't used them.

The final work.


Hope you liked it! Let me know if you tried it. Bye! Have fun!

Saturday 12 July 2014

DIY / How to make a Pendant Necklace

Hey! Hope is everything good with all of you and if it's not, well, we always have to see the brighter side of life.
My dears, today I have for you another necklace that it was sooo easy to make and I hope you like it. The special thing about this one is the way you hold the wire.

This is the result:

So, this is what you need:

1- In first place you cut the wire with the size you want.

2- Then, you add a hoop to the pendant and to the wire.

3- Then you add two "hoops" which are not really hoops to both points of the wire.

4- Then you add two hoops and, to one of those, you add a hook.

 The result:

Hope you guys liked it! It's a really easy, cheap and beautiful necklace. I enjoyed it a lot!
Have fun!

Friday 11 July 2014

DIY / How to make a Pearl Necklace and Bracelet

Hey! Today I have for you a gorgeous pearl necklace and bracelet. It took me almost 2 hours to make it because it takes time and also because I was all the time checking in the mirror how it was.


So, this is all the material you are going to need. I forgot to add one more hoop and one more hook before I took the picture (you need two hoops for the bracelet and other two to the necklace and a hook to each one). 


Let's start with the necklace.
1 - In first place, choose the size of the chain, it is going to be the size of your necklace. Don't forget that you are going to add to hoops and a hook, so choose your size considering that.

2 - Add two hoops and a hook to the points of the chain.


3 - Put the pearls in the pushpins.


 4 - Cut the pushpins with the size you want and make a hoop in the tip.


 The result:


Now, let's make the bracelet.
1 - Cut the chain with the size you want for the bracelet.
 2 - Add a hoop to each tip and to one of them add a hook.
 3 - Use the same method to add the pearls to the chain. I didn't put too much pearls because I didn't wanted to be too full.
 The result:


 In the end, this is what I have:

Hope you guys liked it! I loved it, it is sooo cute and beautiful. Have fun.

Thursday 10 July 2014

DIY / How to make a Notebook

Hello! I tried to make a notebook. It is not as perfect as I wanted but I like it anyway and also I have to say it was my first trial. My problem was that it was impossible for me to pierce the covers so I had to glue them and also that the fabric was a little bit difficult to work with. But hope it gives you some ideas! 

This is the material I needed:

Cut two pieces of cardboard to make the covers.

Cut two pieces of fabric to quilt the covers.


Don't glue a little strip so you can open easily the cover.

To decorate the inside part, cut two pieces of paperboard.

Pierce the sheets and use a ribbon to keep them together.


Cut four strips per cover for decoration.

And glue them.


The result:


My conclusions: I should have used a thinner fabric because it would be easier to work with. I also should have pierced the covers and made a nicer lace on top. I also want to decorate the outside of the covers but i don't know how yet.
Well, hope you like it and, don't forget it, have fun!