"Do you have an old couch that’s well beyond the point of cleaning?
We did:
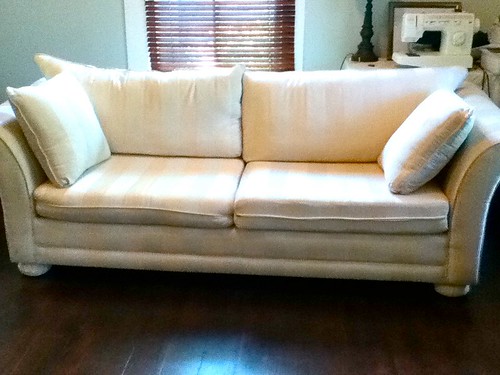
That picture almost makes it look pretty, but here’s what it really looked like:
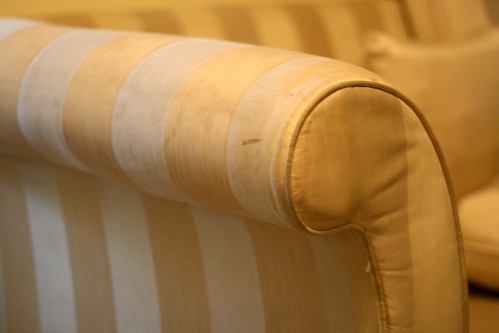
It was big, and after months of sitting
in our back room, I had no desire to take on the huge project of
reupholstering it. I bought it intending to do just that, but I needed
about 16-18 yards of fabric to complete the job, and I knew deep down in
my heart I would buy all that fabric and never finish it {do you ever
just know it’s not in you? lol!}. So I was stuck with a couch that I
couldn’t sell.
One late night as I was in bed trying to
fall asleep, I was thinking of all the things I needed to do {including
doing something with the couch!} and I remembered I had some of this
needing to be used:
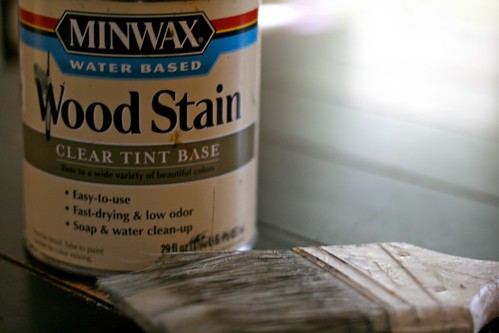
and being the crazy DIY’er that I am, I
jumped out of bed and found it and started painting my couch cushion.
Yes, I am that weird! After I painted one side of a cushion, I went back
to bed, and couldn’t fall asleep I was so excited. {even weirder, I
know! ;) }
I’d read that painting furniture had
lots of disadvantages like scratching, peeling, stiffness, etc., so I
was super excited to try this liquid water-based stain instead of paint.
It doesn’t have the same protective coating as paint since it’s just
stain for wood projects, so I was hoping that would give it a softer
finish and let it really soak into the upholstery.
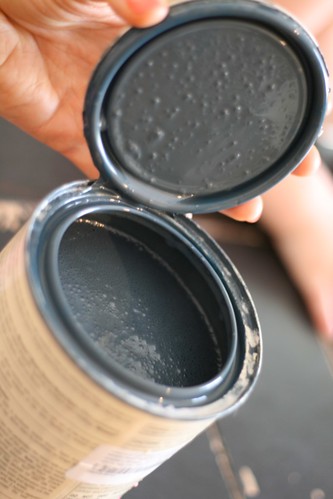
{oh, and you can get Minwax brand
water-based stain tinted in any of these colors- I had the Charcoal Gray
on hand for a table project, but I can totally see using any of the
others too! I can’t wait to try another color!}
The test cushion did very, very well,
and I was so stoked, the next day I went for it. Yep. I wood-stained my
big old cream couch Charcoal Gray. I started by giving it a good wipe
down to clean off any surface dirt, then I just started painting the
stain on it.
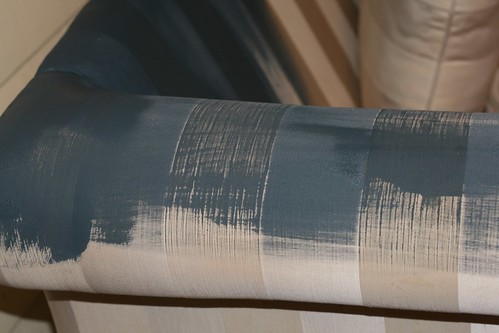
It went right on- all you have to do is
shake, open, and start painting. You’ll want to make sure you paint or
roll with the grain of the fabric.
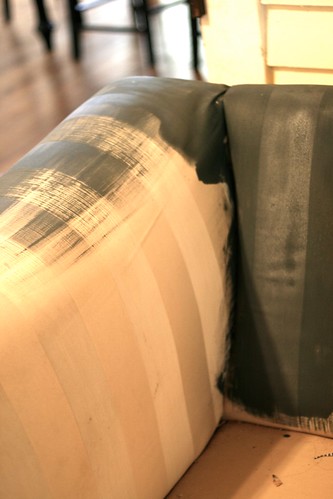
I was really happy with how one coat did:
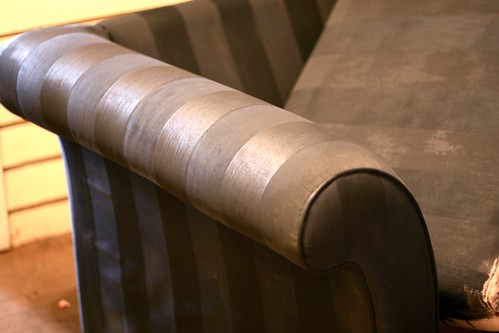
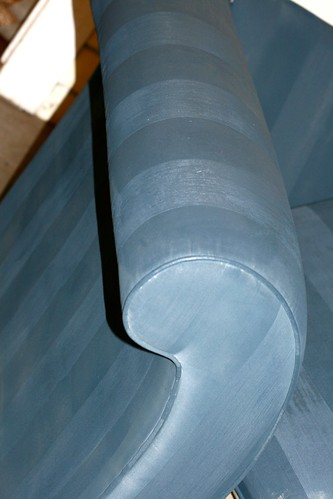
The only downside for me was how much
stain the whole couch took. I used a can per every 7-8 square feet. And
the cans were around $10 each, so I ended up spending about $70 to cover
it from top to bottom with two coats. The padding seemed to absorb the
stain quite a bit on the arms and back of the seats.
If you have the ability to remove your
cushion covers like this, I would totally recommend it. The stain went
much farther when I did:
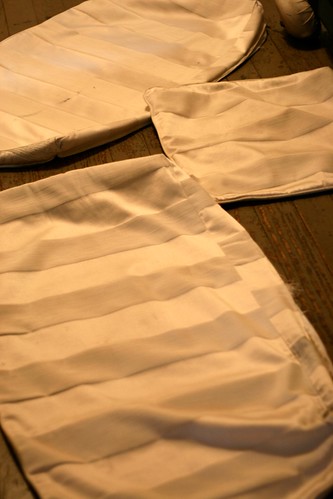
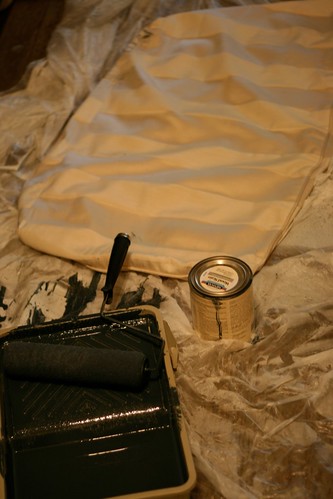
Painting the whole couch twice took me
around 5-6 hours, and I redid the pillows by seam ripping the cushion
covers and using the original as a pattern for the new ones, then sewed
the new pillow covers to match the new gray color. {that’s a post all
of it’s own!}
I ended up with this sweet little lady about 15 hours of work and close to $100 later:
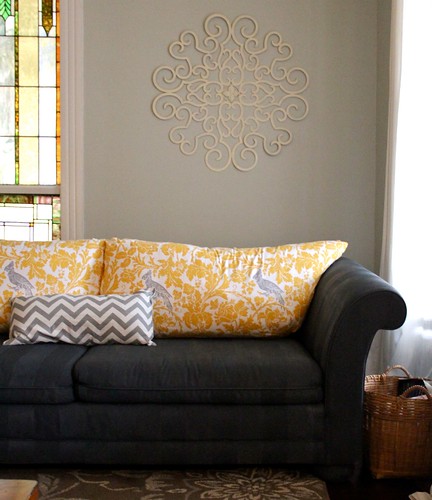

I love it. The picture above was taken
after 6 weeks of use, and I’m still a huge fan of the stain method. It's
definitely stiffer than it was before, but you don’t notice because the
back cushions are so soft and cushy. It’s nearly waterproof, and
anything you spill
wipes right off. I love the fact that my four little kids can’t
destroy it. :D It’s been wearing very well, but I still kept my leftover
stain in case I wanted to touch it up.
Everyone who saw it couldn’t believe it
wasn’t the original couch color- they thought it was a whole new couch,
and were completely surprised that I had treated it to make it gray! I
totally loved that! :)
Two things I don’t like as much about the painting/staining method:
the high investment it took to redo it which I noted before, and the fact that the cushions wrinkle more than they did with the original fabric. I didn’t even notice it really until I started inspecting it the other day. It’s also dries a little shinier than regular fabric I think.
the high investment it took to redo it which I noted before, and the fact that the cushions wrinkle more than they did with the original fabric. I didn’t even notice it really until I started inspecting it the other day. It’s also dries a little shinier than regular fabric I think.
Even with all of it’s imperfections, I’m
so, so excited to give it a funky brand new look! It’s so much more fun
to have an adorable gray and yellow bird couch instead of a icky cream
one! :D
Supplies you’ll need:
a good paintbrush and/or roller
floor covering
Minwax water-based stain tinted to your color
{how much you need will vary depending on your project, but one couch took 7-8 cans for me.}
{how much you need will vary depending on your project, but one couch took 7-8 cans for me.}
Instructions:
1. prep your area and wipe off any surface dirt from your furniture
2. shake your stain very well
3. pour in your paint pan
4. start painting with the grain of your fabric {be gentle- it’ll splash easily!}
5. let each coat dry to the touch
6. like walls, when you can’t see the original fabric color at all, you’re done
7. enjoy your brand new furniture without having to reupholster!
*results
may vary, so try this at your own risk! as with all DIY projects, we
are not experts so of course, any particular method or outcome is not
guaranteed or necessarily deemed safe or reliable. We’re just using the
resources we have to make something old look new again. :) Good luck,
and let me know how it goes if you try it!"
Check out where I found this amazing idea but really crazy! Would you be capable of it? Let me know! By the way, DIY is Do It Yourself! =) http://biblicalhomemaking.blogspot.pt/2012/01/how-to-paint-furniture-upholstery-diy.html


No comments:
Post a Comment